
Over Christmas I got to spend some time with my photographer dad, which is always enlightening and wonderful, but it was an extra special time because he showed me how to develop black and white film at home. It was extra extra special because I brought my Yashica TLR with me which takes 127 film, so I got to test a camera that I hadn't before, and I developed film for free that I would otherwise have to ship off and spend a lot of money to get processed. All good things.
My dad had taken a course several years earlier so he had some handouts with some basic instructions on how to develop black and white film. If anyone would benefit from having this information, please let me know because I would be happy to write up some brief instructions. That being said, it's probably all over the internet.
Here are the results:
 |
| double exposure, baby! |

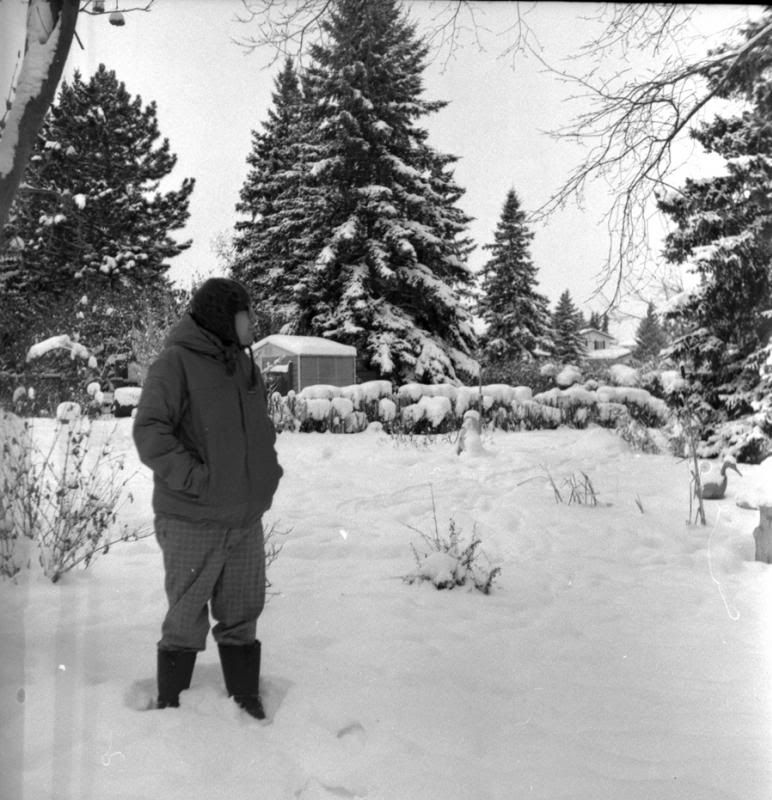
I've adjusted the contrast a bit, so these aren't a totally raw representation. Also, there's a bit of glare from the scanner, which I will explain later, but the short version is the film was difficult to scan.
And my thoughts:
The contrast wasn't very strong on these photos. Next time I think I'll either underexpose the film and push the negative or try just agitating the solution more during development. I can't recall all the brands we used for chemicals but we definitely used Kodak TMAX developer. I've heard it's not the best but obviously I don't know what I'm doing and haven't developed tastes for different things yet. We did everything by the book without any experimentation.
The film used was Efke R100 127 film, which is no longer in production. Although 127 film is hard enough to come by and it's a loss for the film community for Efke to shut down its little factory, the film was very difficult to work with. It's extremely curly and was near impossible to scan, since we had to use the 120 size tray and it wouldn't lie flat (even after being pressed under some very heavy books overnight).
Other problems I had were my own doofyness (I messed up loading the film onto the reel so some of the film got bent and scratched) and the lack of a dust-free environment. You can probably see some of the dust and scratches on the examples here.
Anyhoodle, it was my first time and it was so much fun. There are so many advantages to developing your own film, especially when it's a weird format. I hope I can have a fully decked out dark room one day, but of course chemicals, film and even just space are getting harder and harder to come by. If you're in the Vancouver area I've seen all the goods at Leo's downtown on Granville, but I'm sure there are other sources.
But hopefully the resources to develop your own film will always be available because it's a really invaluable experience. Obviously the amount of control over your work is an asset, and I know you can do pretty much anything with a digital negative on Lightroom or Photoshop, but doing it with your own hands and really understanding what goes into developing film can only help you improve your work with film or with an entirely digital system. It will help you know what creative choices to make and why.
Happy Monday, happy Spring, everyone!
CWB
No comments:
Post a Comment